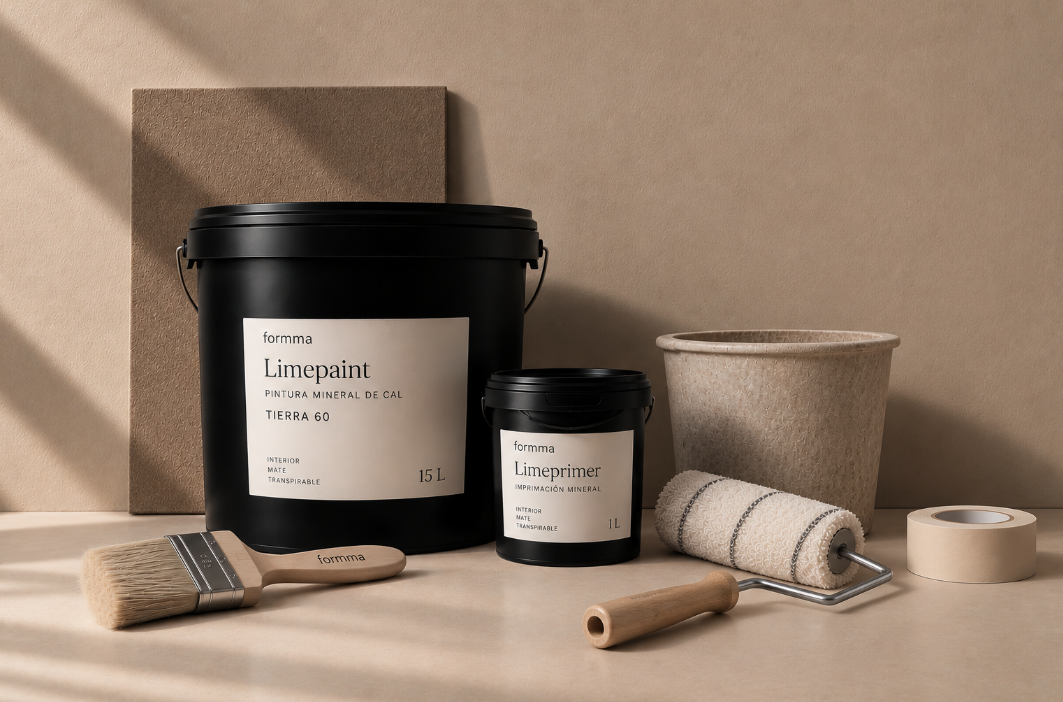
Substrate preparation, the tool and the method of application all play a part in the final result. Select a product to see its step-by-step application process.
Select a product
LIMEPAINT
Mineral lime paint
Lime paint with a fine, matte finish that brings mineral depth to the surface. The tool and method of application allow its expression to be subtly modulated while always keeping a continuous, refined finish.
Tools
Brush · Flat brush · Roller
Coats
2
Coverage
0,33 L/m² total for 2 coats
Finish
Matte · Mineral · Fine · Continuous
Drying
6 h between coats · 24 h total
Conditions
+5 to +30 °C · RH 50–80%
Pared interior✓
Pared exterior✓
Techo✓
Zona húmeda sin agua directa✓
Agua directa—
Suelo—
The formulation includes the additive needed for outdoor use.
Limepaint
Brush
Roller
Mixer
Clean container
Tape / protection
Limeprimer
01 · PREPARAR
Prepare the substrate
The substrate must be sound, clean, dry and properly prepared before applying Limepaint. The condition, texture and absorption of the substrate can affect the uniformity and final expression of the surface.
Continuous plaster, sound and uniform
Direct application when the substrate has uniform absorption and is properly prepared.
Prepared plasterLimepaint
If there are repairs or differences in absorption, apply Limeprimer first.
Uniform absorption and a surface with no visible repairs.
Prepare Limepaint
Before applying, mix Limepaint with a low-speed mixer until the pigment and mineral components are evenly distributed.
Mixer · Low speed
Mix again during application whenever necessary to keep the product uniform.
02 · APLICAR
Choose the tool according to the result
2 coats · 0,33 L/m² total
Limepaint can be applied with a brush, flat brush or roller. The choice depends on the final expression you want to achieve.
Application in two coats
01 · Primera coat
Apply a first coat of Limepaint continuously and evenly with the chosen tool, keeping a uniform load throughout the area.
First coat→6 h→Second coat
02 · Segunda coat
Once the first coat is dry, apply a second one keeping a regular load and the same application criteria over the whole surface.
Always work in complete sections and avoid changing tool, load or direction within the same surface.
03 · TEXTURAS
One paint. Different expressions.
The tool and direction of application subtly change the reading of Limepaint. The finish always keeps its fine, matte character, but can show more or less movement depending on the chosen gesture.
TEXTURA 01
Cross brushstroke
Herramienta Brush
Work with cross brushstrokes, gently alternating the direction of movement and overlapping the passes continuously. Keep a regular load to achieve a balanced surface with a subtle mineral movement.
Gentle movement · Mineral · Uniform
TEXTURA 02
Vertical brushstroke
Herramienta Brush
Apply Limepaint with predominantly vertical brushstrokes, keeping a regular load and a stroke scale consistent with the tool. Overlap the passes continuously to avoid breaks between brushstrokes. The brushstroke should keep the true scale of the brush, without oversized strokes.
Directional · Calm · Refined
TEXTURA 03
Roller application
Herramienta Roller
Spread Limepaint continuously and evenly, keeping a uniform load and avoiding product build-up. Keep the same application criteria over the whole area.
More uniform · Continuous · Matte
04 · COMPROBAR
Resultado esperado
Limepaint creates a fine, matte, mineral surface with a continuous look and a slight visual depth. The tool and method of application can introduce subtle variations in movement without turning the surface into a decorative finish.
Matte · Mineral · Fine · Continuous
Natural variations of the material
The mineral nature of the product, substrate absorption and hand application can create small variations in movement and tonal perception. These variations are part of the material's own expression.
Avoid these mistakes
01Poorly prepared substrate
Differences in absorption, texture or preparation of the substrate can transfer to the finish.
02Poorly mixed product
An uneven distribution of the pigment and mineral components can create unwanted differences.
03Uneven application
Changes in load, tool or direction within the same area can produce visible differences and break the continuity of the finish.
Validate before you start
Produce a sample on a representative substrate using the same preparation, colour, tool, number of coats and application texture planned for the project.
The sample must validate the complete system, not just the colour.